
Master the Mainframe 2019 – Part 1 Challenge 1 Solution
Table of Contents
What is Master the Mainframe Contest?
Master the Mainframe is an annual contest organized by IBM. In 2019 the contest started in September and ended on December 31. The Contest had over 30 challenges divided into 3 parts. In this series of posts, that I am writing on my blog, I will cover every single challenge in detail. Also, I have created a video for each challenge. So, if you like to watch the video instead then you can go to my YouTube channel called “Mainframe Nation”. The full solution to part 1 challenge 1 is linked below.
Part 1 of the contest covers the basics of a Mainframe. IBM has also made a lot of content for you to learn about Mainframes. It is recommended that you go to the below link and study it before proceeding further.
The above tutorial will teach you topics such as Specialty engines, Virtualization, Operating system, Middleware, ZOWE CLI etc.
Let’s Start Part 1 of Master the Mainframe contest 2019
The first step is to install a 3270 Terminal Emulator on your system. There are many emulators available on the internet. We will use Vista TN3270 emulator since it is the one mentioned on the Master the Mainframe website as well. You can download it from the below link
Download Vista TN3270 Emulator
First, Install and then open the software. You will then be presented with a screen like this:
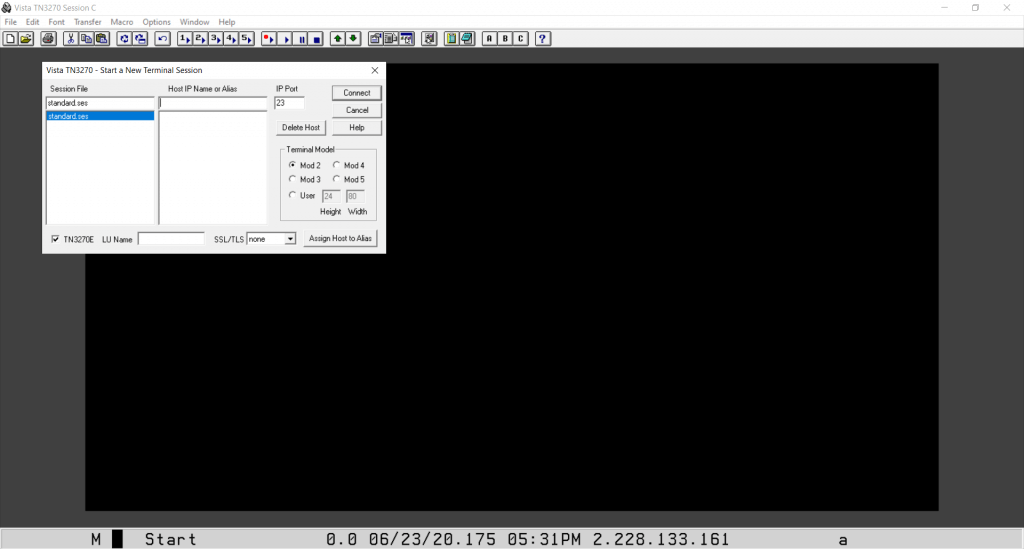
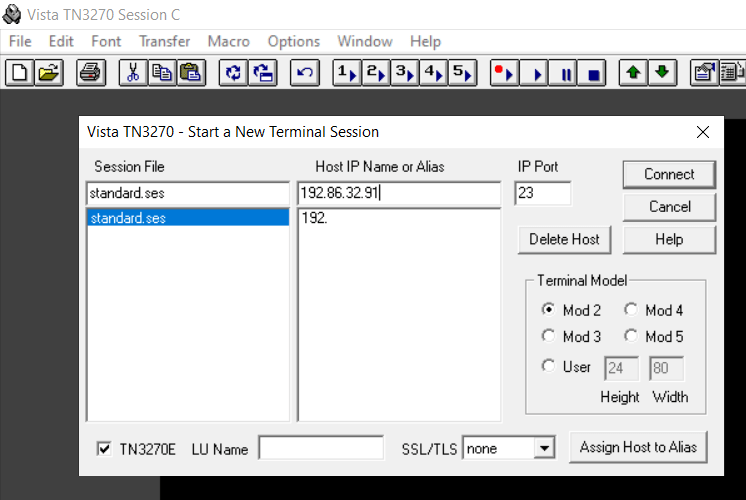
In the Host IP, you have to enter the IP address of the Mainframe you want to connect to. And in the IP port field, you have to enter the Port number of the mainframe that you want to connect to. Below are the details for Master the Mainframe system:
IP address = 192.86.32.91
Port number = 23
So, enter the details and then click on the Connect button.
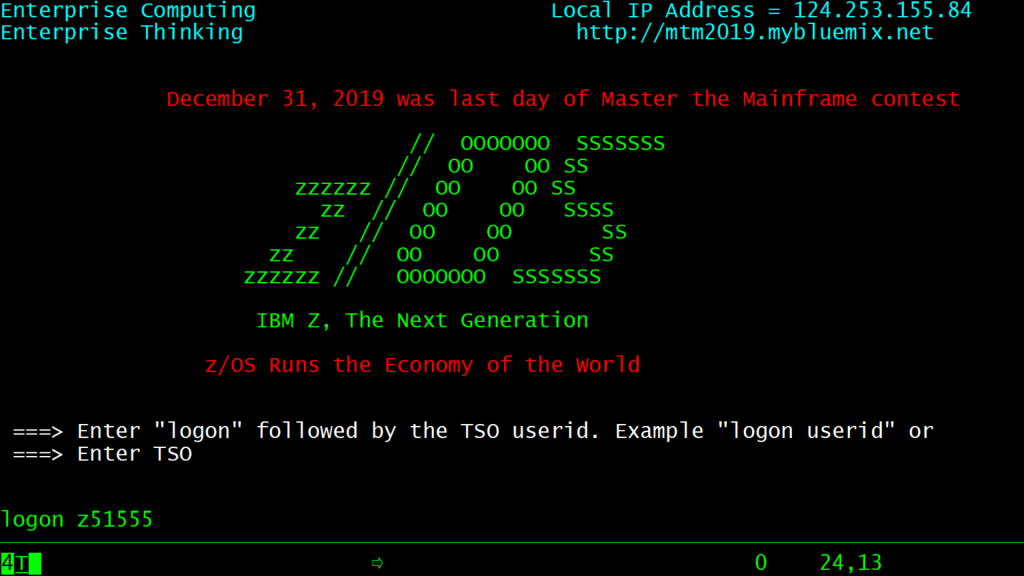
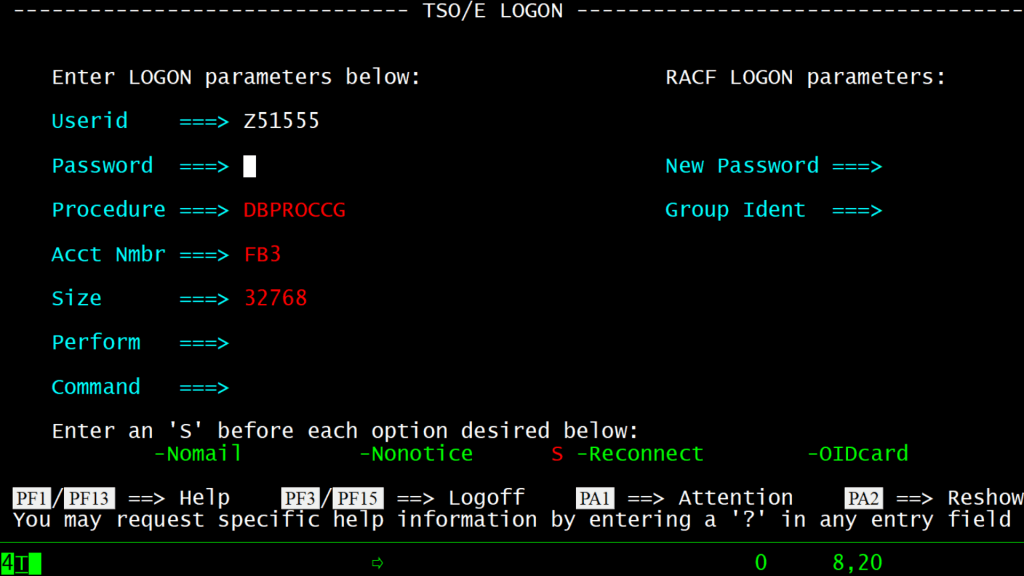
You will then be presented with the Logon screen.
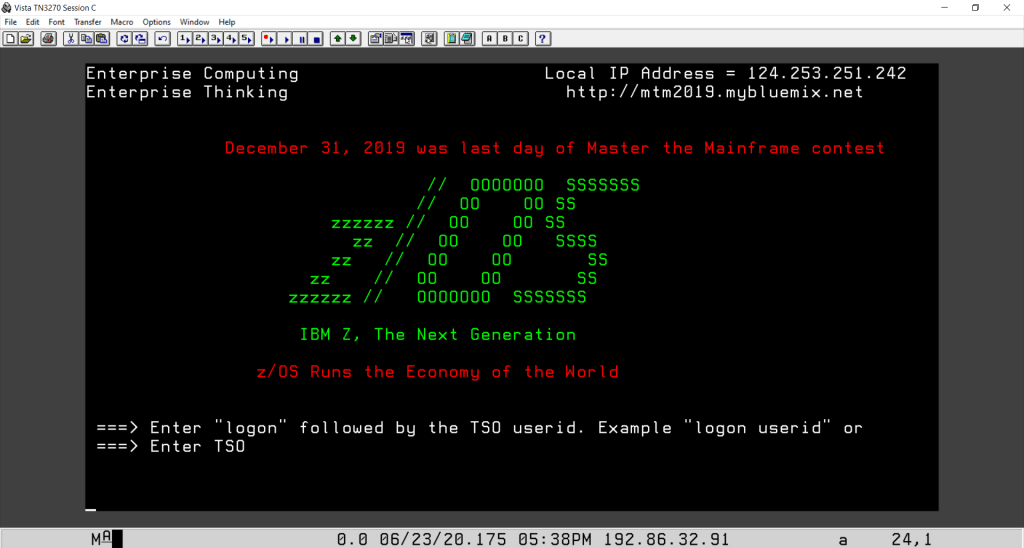
Logon to the TSO environment by giving command
logon z51555
Please note that z51555 is my id. You have to enter your own Mainframe Id.

for e.g. If your id is z52342 then enter "logon z52342" to logon to the Master the Mainframe system.

Going forward in this post, wherever you find z51555, replace it with your id.
Enter your password in the next screen.
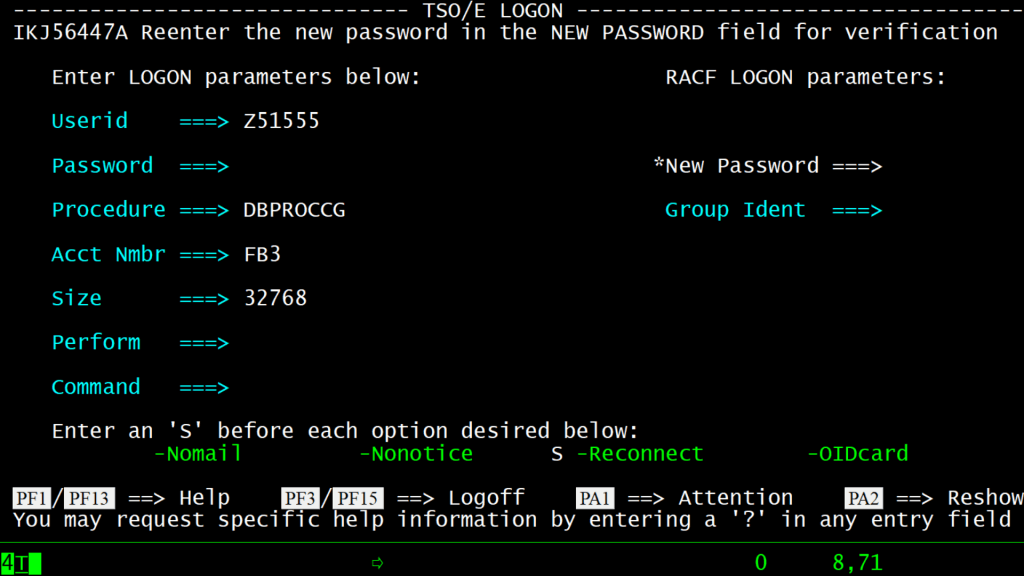
Since this is your first time logging in, It will ask you to reset your password. A new message will be displayed “Your Password has Expired. Please Enter New password”.
It will ask for Verification once again. Enter the new password again and press the Enter key. You will then be logged in.
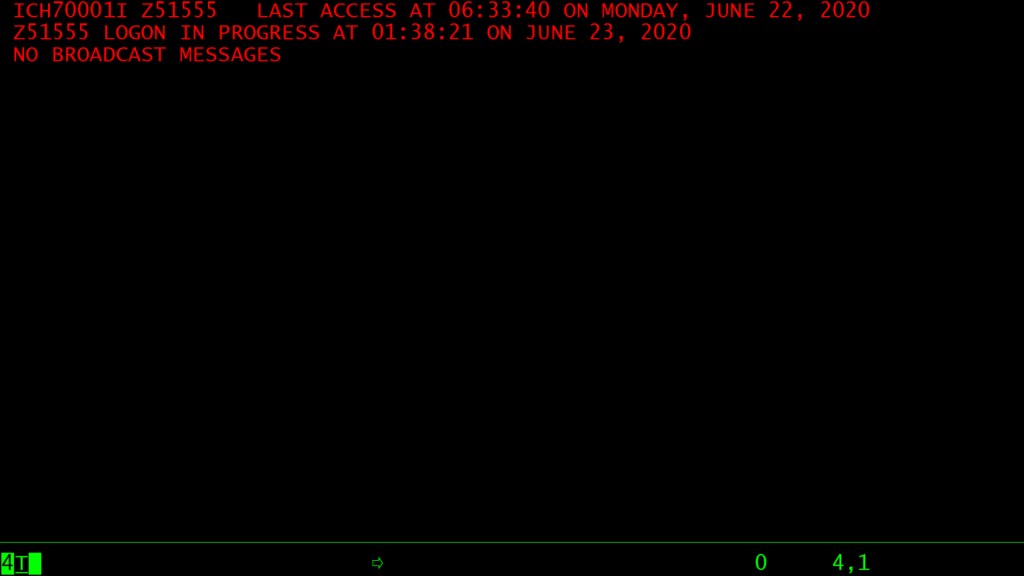
A new menu will appear which is known as the ISPF Primary Option Menu.
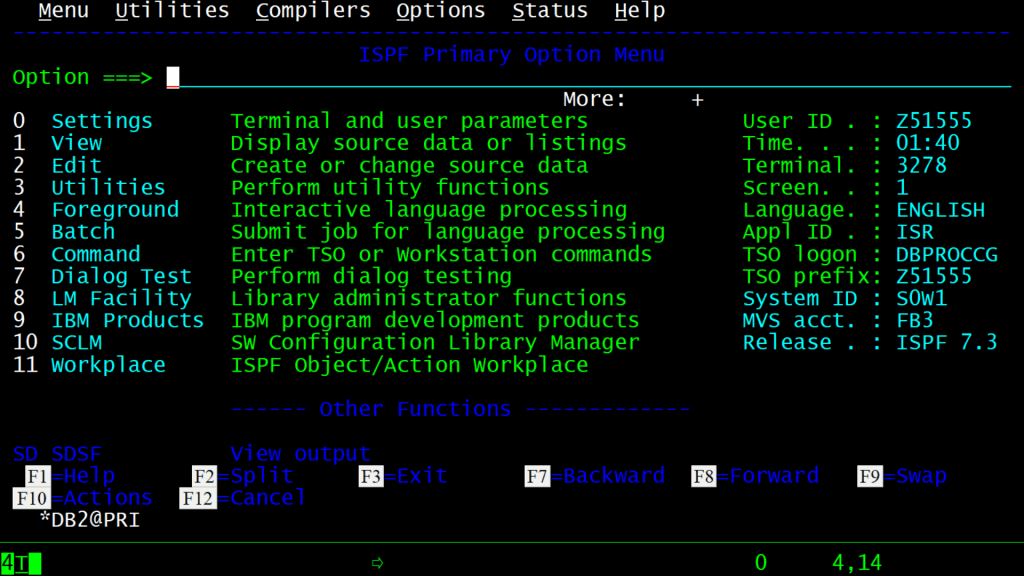
Function Keys
Before proceeding further, you have to remember some keys without which you won’t be able to work on your Mainframe. These are called the Function keys. They generally appear on the topmost line of your keyboard.
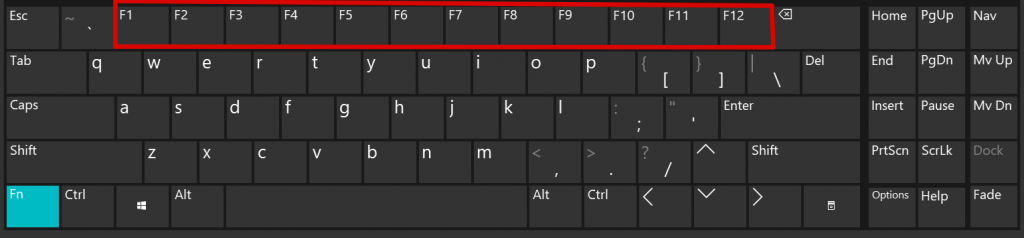
Below are the most used Function keys:
- F7 – Move up
- F8 – Move down
- F10 – Move left
- F11- Move right
- F3 – Go back
Press these keys one by one and see what happens.
You can see these details at the bottom of the screen as well.

Navigating through the ISPF menus
Before you can proceed further you should know how to navigate through ISPF menus/panels. ISPF is a panel driven interface, what that means is, that you have to navigate through different panels to get your work done. You go to a panel by entering its number on the command line. On the top of the screen you can see “Option ===> _______________”
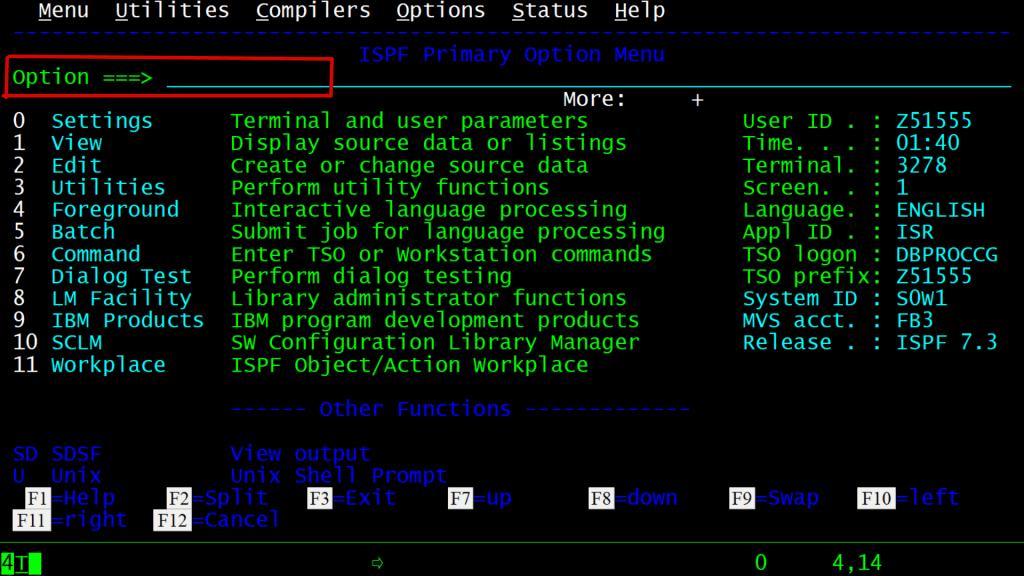
Here you have to give a number such as 3. Number 3 will take you to an option called Utilities.
0 — will take you to Settings.
1 — will take you to View.
2 — will take you to Edit….. and so on till 11.
There are even more options such as
SD — will take you to SDSF
U — will take you to Unix
You can see all the options listed by pressing the F8 key. Let us enter 3 and press enter.
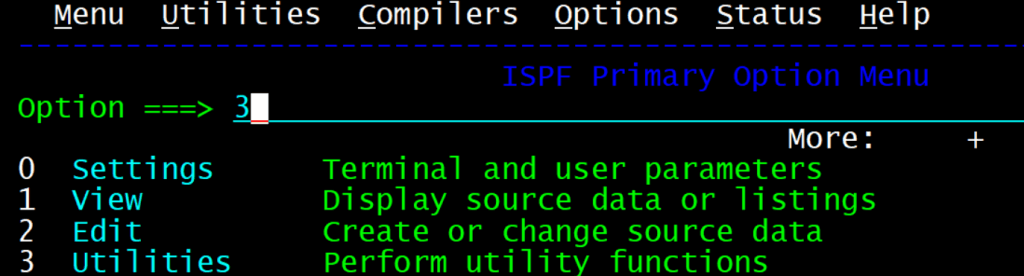
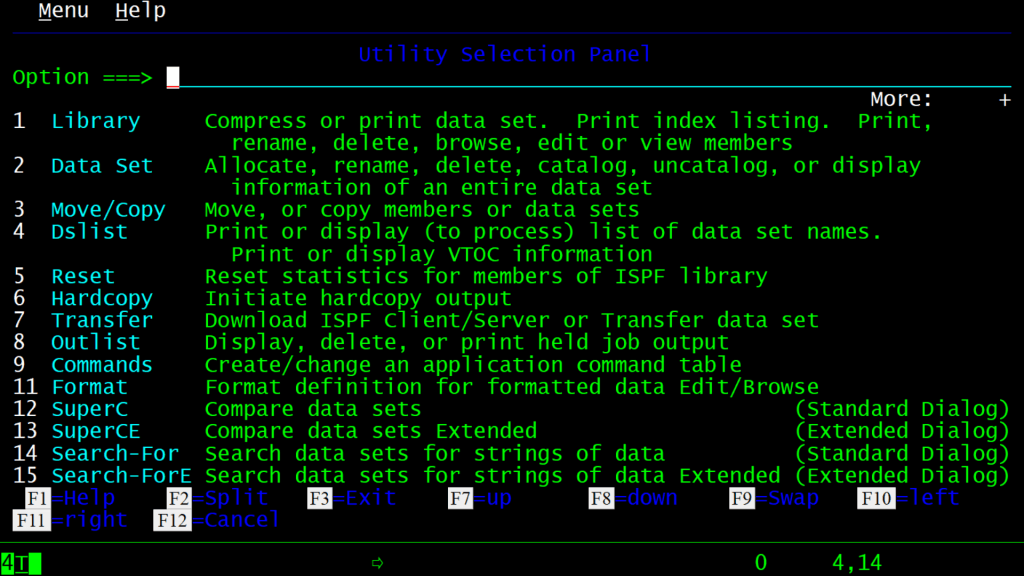
So, to allocate, delete, rename data sets we can enter 2 on the option and press enter.
To go back you can press the F3 key. It will again go back to the previous screen. This is how you navigate through the ISPF panels.
Completing Challenge 1 tasks of Master the Mainframe
Submitting TSO job
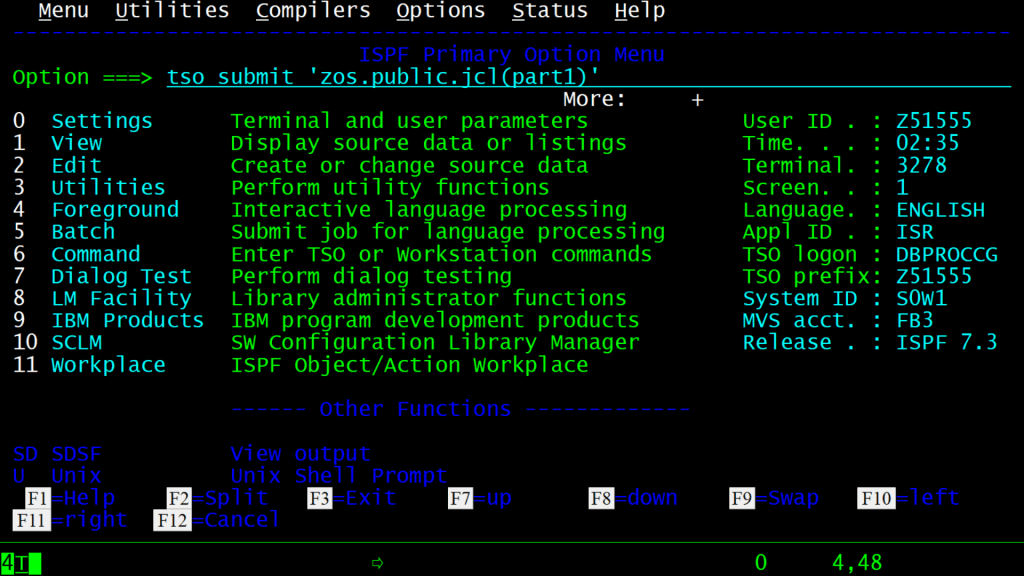
Enter the following command on the Command line, that is “Option ==> ______________” and then press the ENTER key.
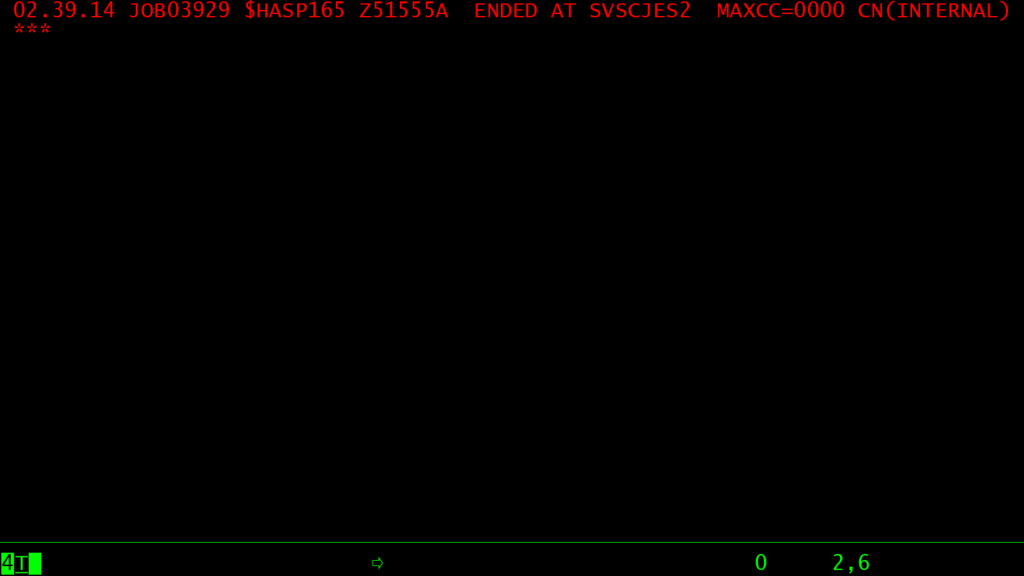
tso submit 'zos.public.jcl(part1)'
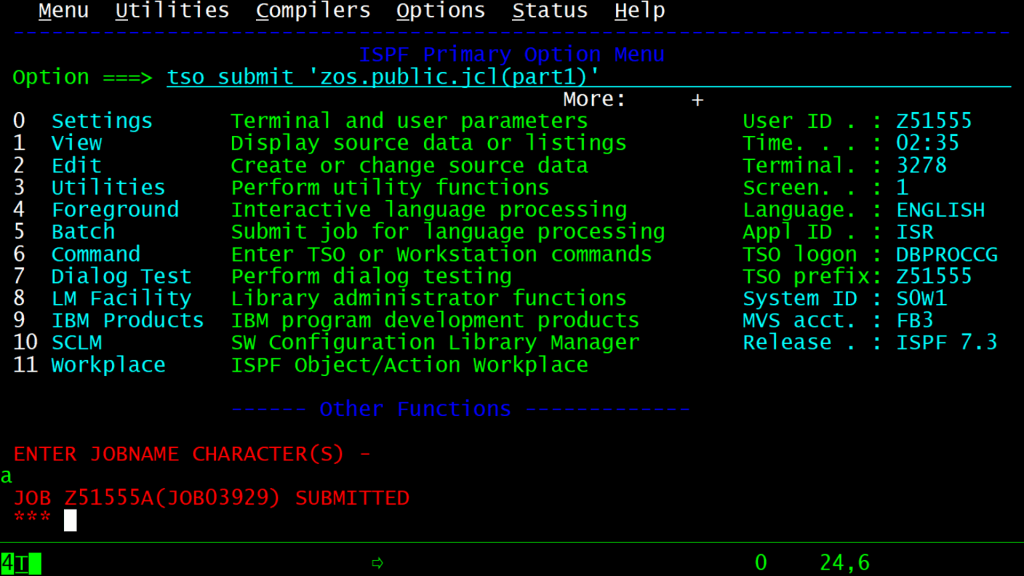
It will then show you MAXCC=0000. MAXCC stands for the Maximum Condition Code. Remember that a value of 0 means that your job has finished successfully.
Verifying that the JOB was successful
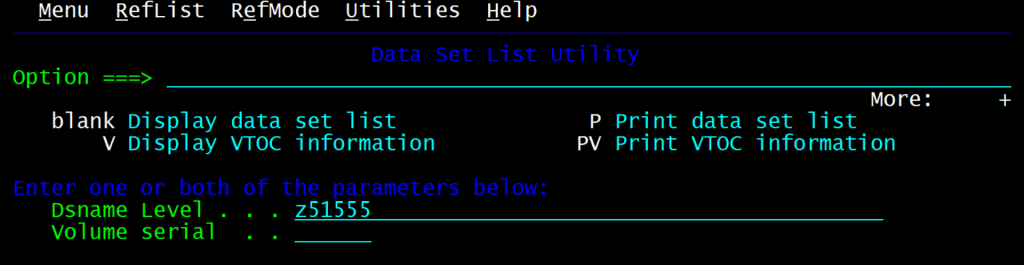
Now go to option 3.4 in ISPF.

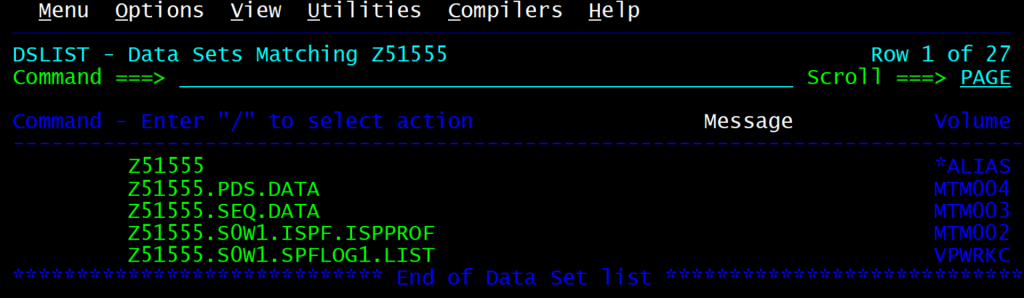
In 3.4 give your username in front of the Dsname Level …
You will then see 5 datasets with your userid. This means that the step completed successfully.
Unix Directory List
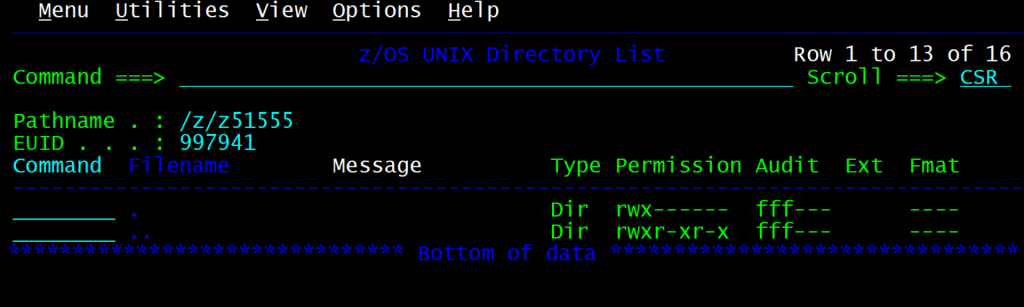
Now again go to option 3.4 and then give the following in the Dsname Level field: /z/z51555

You will then see a list of all your datasets in the Unix environment.
Unix Shell prompt
Press F3 to return to your 3.4 option. Then press F3 again to come back to ISPF primary option Menu. Here we have to give option ‘U’ on the command line. It will then open the Unix shell prompt.

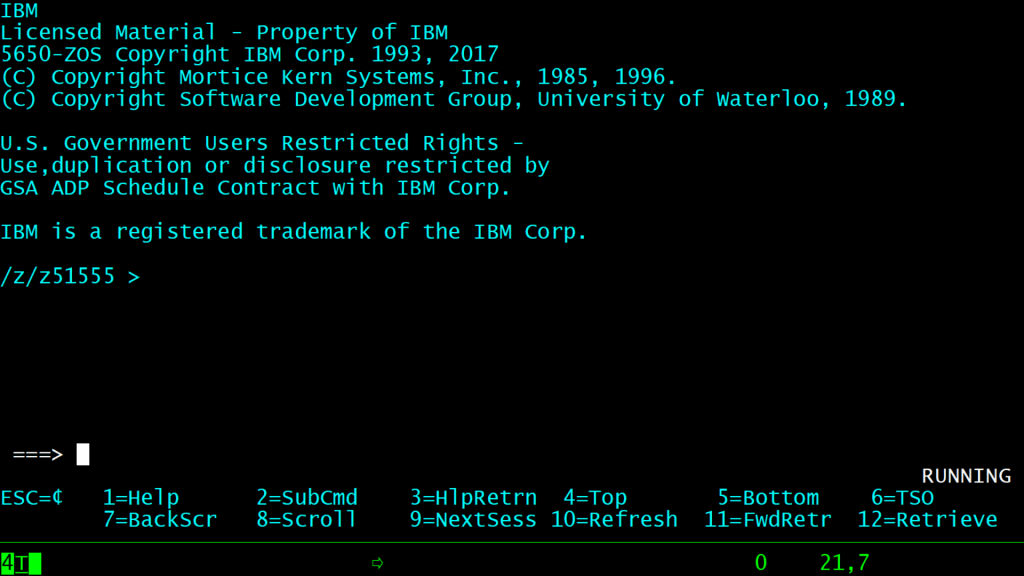
Give the command “date” and press the ENTER key.

The below command will copy the date into p1 dataset. So, give the below command and press the ENTER key:
date > p1
The cat command displays the content of the dataset. So, give the below command and press the ENTER key:
cat p1
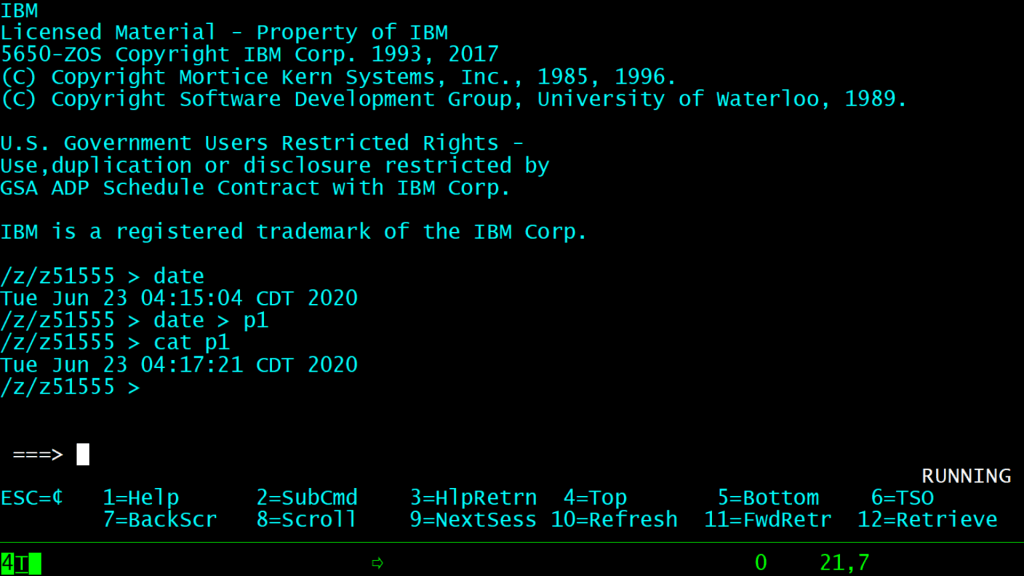
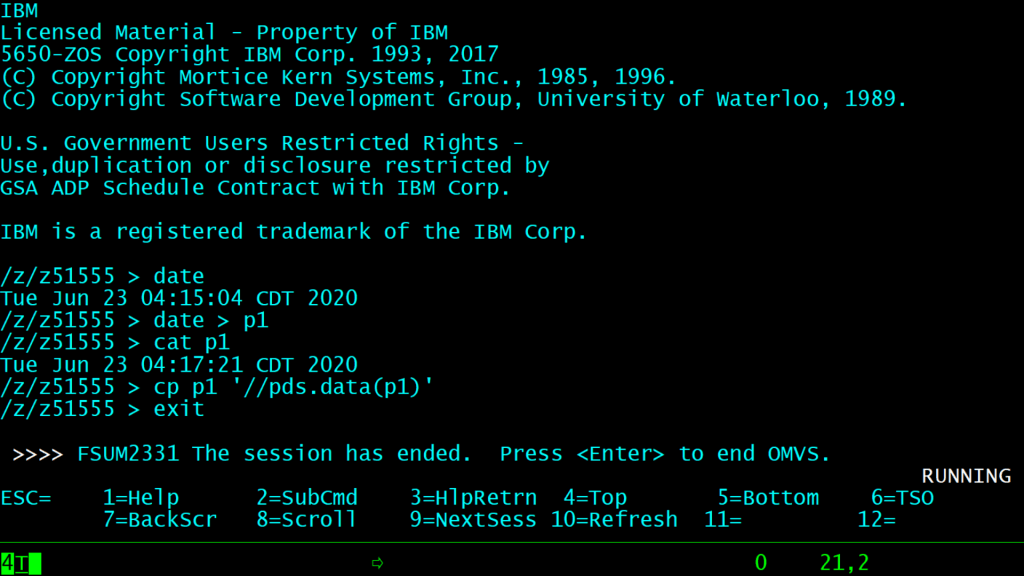
The content of the p1 dataset will be displayed on the screen. Now we have to copy this dataset to another dataset using the copy command called cp.
cp p1 '//pds.data(p1)'
After that give the command:
cat '//pds.data(p1)'
Again you will see the content of the dataset ‘pds.data(p1)’. We can now exit the Unix Shell by giving the command exit.
exit
Verify the successful completion of Copy operation
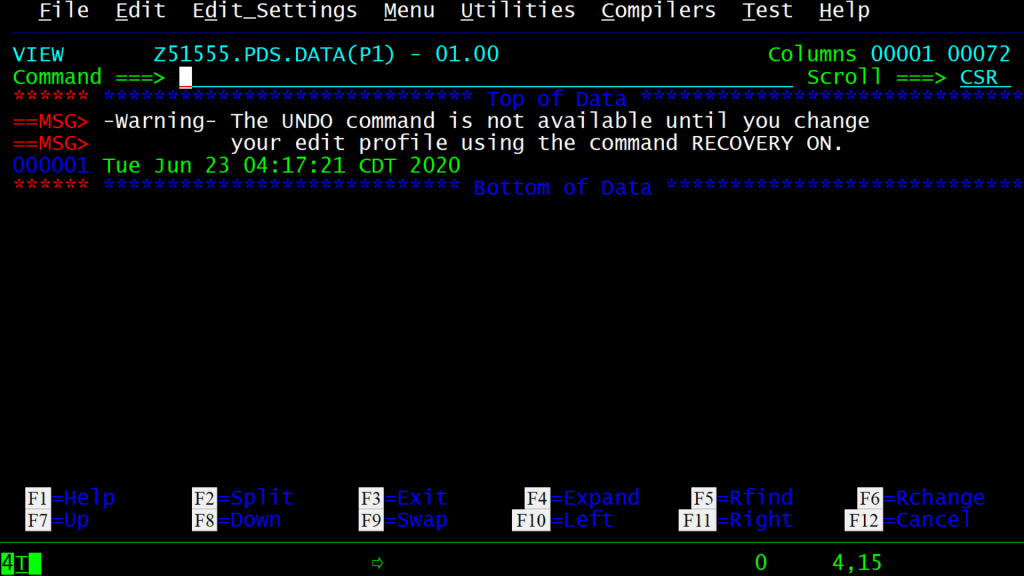
Let us now confirm whether our Copy operation was successful or not. Go to option 3.4 and enter our dataset name ‘z51555.PDS.DATA’. Give v in front of the dataset to view it. It will then show a list of members. Give v in front of member P1.
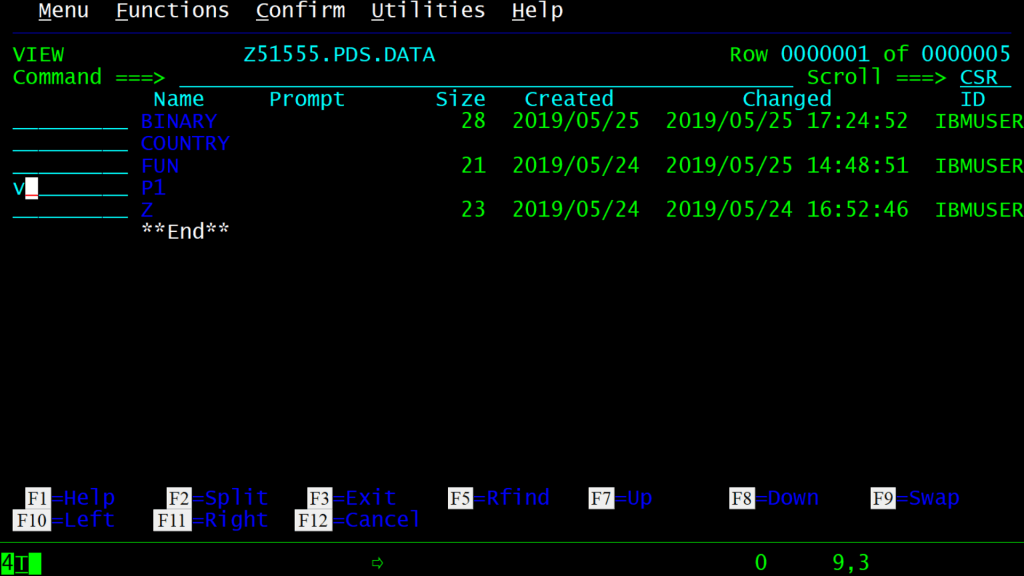
If you see a screen like this, then your challenge was successful.
That is it all the challenges in the Part 1 has been completed. Let us now complete the final step to finish Part 1, which is a quiz.
Part 1 Quiz
This quiz consists of 11 questions. You have to answer all of them correctly to complete Part 1. To see all the questions of the quiz, enter the below command on command line.
tso p1quiz

This will start your quiz. The first question has now appeared.
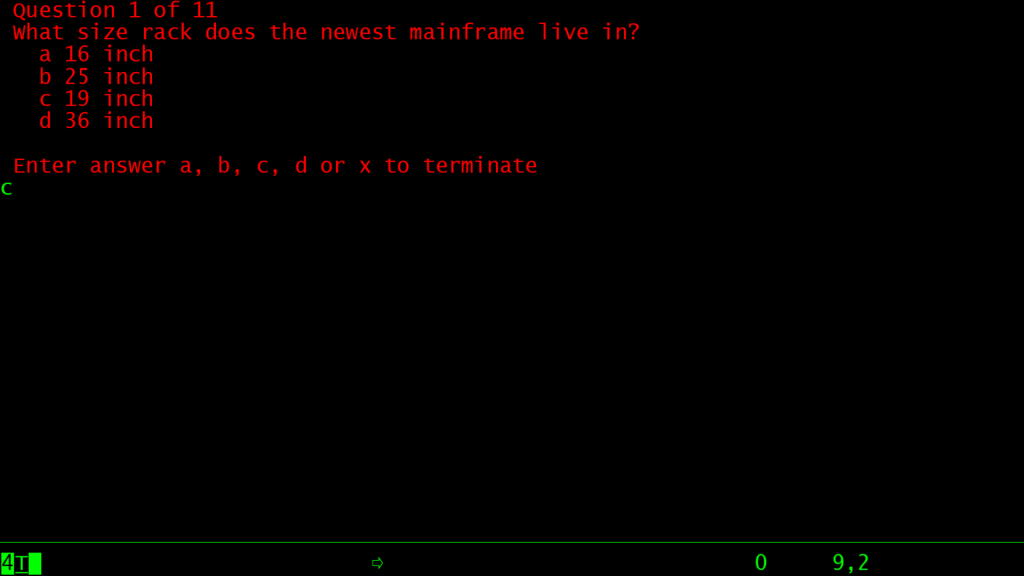
To answer your question just type the correct option and press the ENTER key. The correct answer of the first question is C. So type C and press the ENTER key. The next question will then appear. Solve all the 11 questions one by one.

Correct answers of the quiz
Below are the correct answers to all the questions:
1. What size rack does the newest mainframe live in?
19-inch

2. What specialty engines will you find on a modern mainframe?
IFL, ICF, zIIP

3. The mainframe is unique in that it has a large amount of ________ in one place.
All of these answers are correct

4. According to Esmeralda, why does the mainframe need another computer within its frame?
To give you enough buttons to control everything

5. In the “The IBM Big Green Server Consolidation” section of the linked Redbook, an effort to migrate 3900 servers onto 30 IBM Z mainframes. By using mainframes instead of servers, they were able to use ____ less energy.
80%

6. In the Virtualization video, the unused resources on servers is referred to as:
White Space

7. In the Schneider Electric electrical calculation tool, start with 1000 servers and no mainframes, and observe the total IT Capacity Rating, keeping all other settings default. Now, replace 500 servers with one mainframe and observe the change. What happens to the total number of kW?
It decreases from 630kW to 330KW

8. What Operating System does not currently run on the mainframe?
MacOS

9. z/VM doesn’t need to run on another Operating System to provide virtualization, so it can be referred to as a Type ___ Hypervisor.
Type 1

10. Which of the following is not an example of Middleware?
Linux Kernel

11. Which Transaction Manager did the 17 year-old van der Wal twins use to build their custom end-to-end solution?
CICS
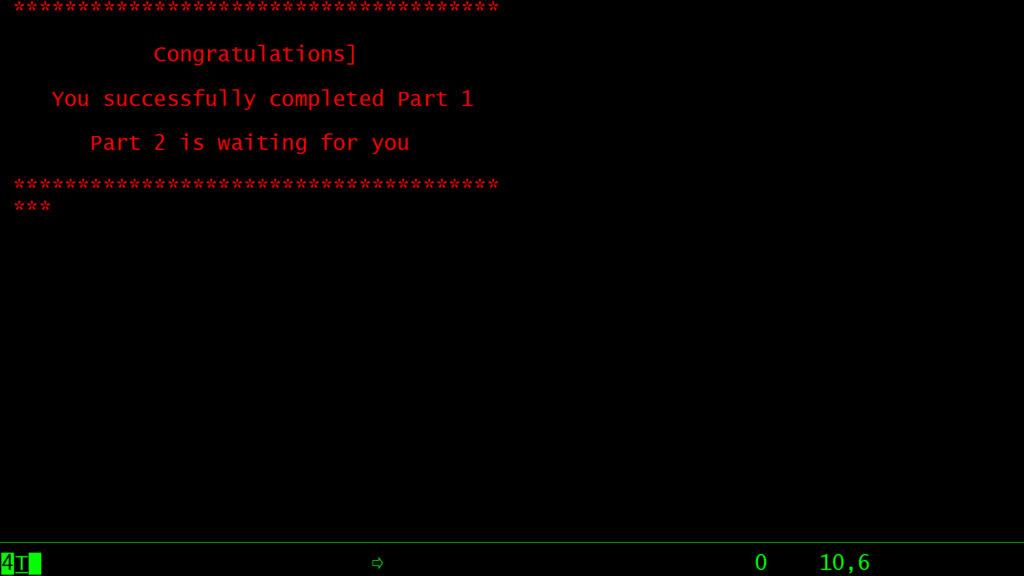
After you have answered all the questions, Part 1 will be complete. You will be presented with a screen like the one below.
I have also created a video on this quiz. You can find it on YouTube. The video link is given below:
You have completed all that is there in Part 1 of this contest. Congrats !!!
Logoff from the Mainframe
If you want logoff from the mainframe, keep pressing the F3 key until you see a screen like this:
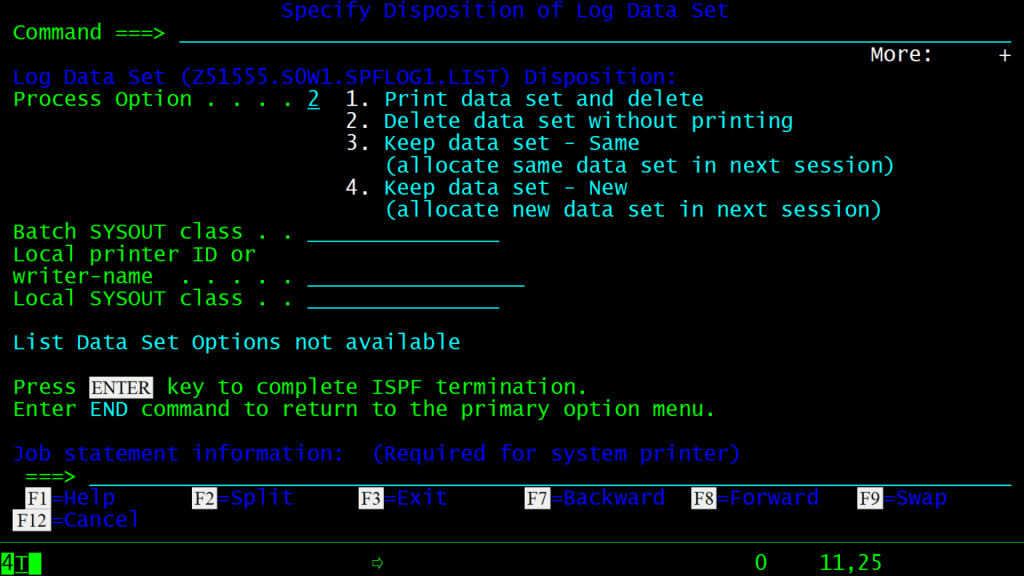
Here give option 2 and press the ENTER key. You will come to a screen which will be saying READY.
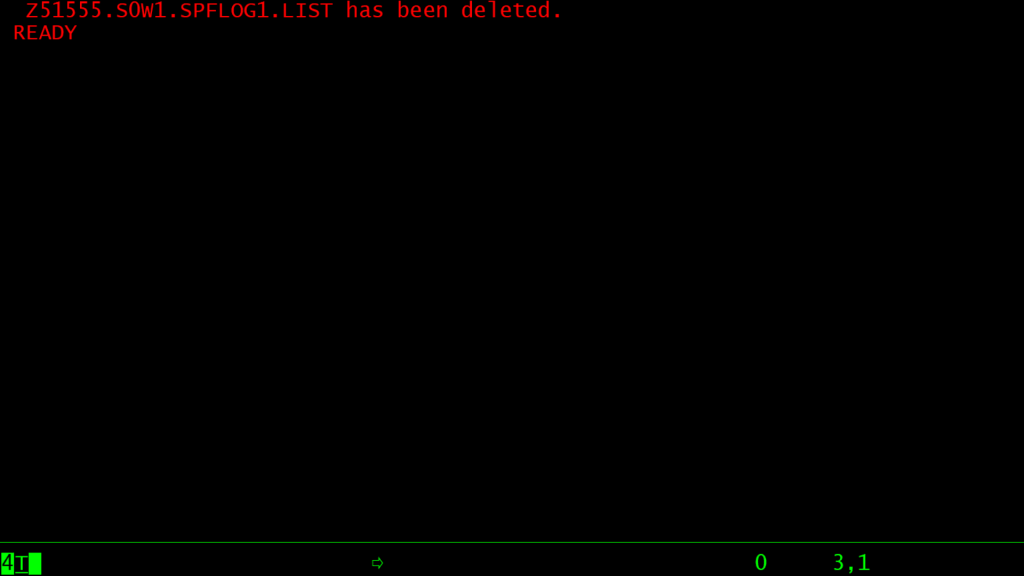
You can enter logoff in this screen and press the ENTER key.
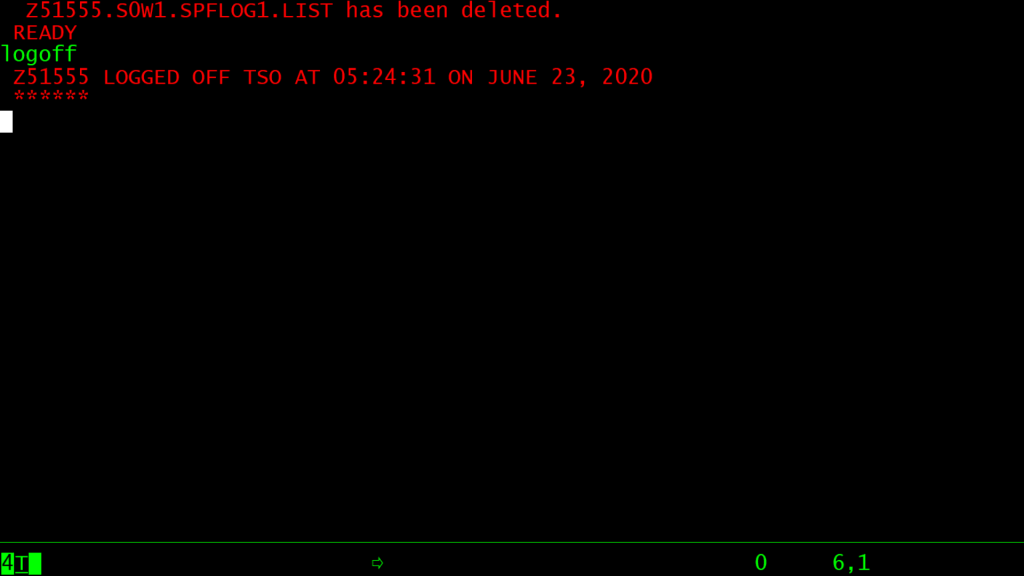
That is it. You have logged off from your system and will be presented with the login screen again.

This concludes Part 1 of the contest. After completing part 1, you will receive an email from IBM. That email will congratulate you on completing part 1. If you have not received an email like this then you have not completed part 1 successfully. In the below video you can find the details of this email.
That is It !!!
In the next post, we will solve Part 2 challenge 1.
See you there.
Leave a Reply